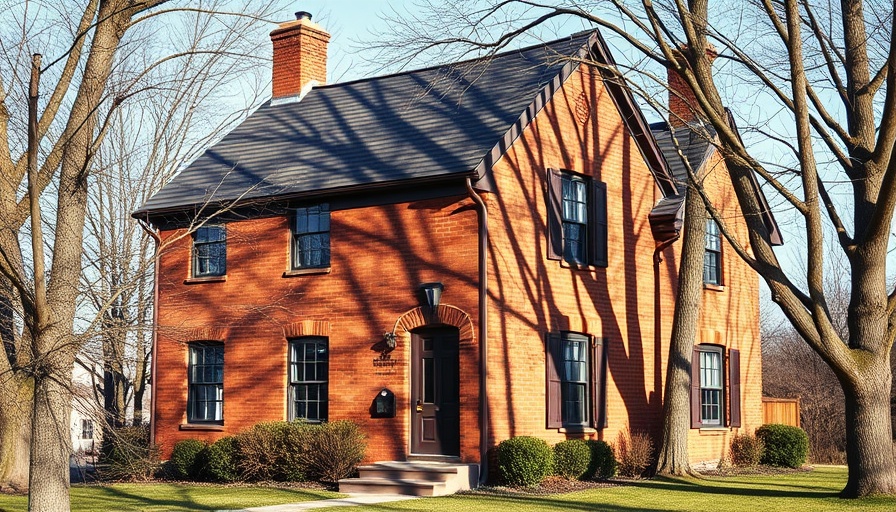
Understanding the Role of Roof Flashing in Home Protection
Roof flashing is a crucial component in any roofing system, serving as a protective barrier that prevents water intrusion in vulnerable areas where different sections of the roof meet. Common locations for roof flashing include around chimneys, vents, skylights, and dormers; these points are particularly susceptible to leaks. Without effective flashing, water can seep into a home’s interior, leading to significant damage over time, such as mold growth and structural deterioration. Repairing or replacing flashing is thus essential for maintaining a roof's integrity and longevity.
Recognizing the Signs That Flashing Needs Replacement
Regular maintenance and inspection can help homeowners catch problems with roof flashing before they escalate. Look for signs of damage such as:
- Visible rust or corrosion on metal flashing
- Loose or missing sections of flashing, which leaves parts of the roof exposed
- Water stains on ceilings or walls, indicating potential leaks
- Damaged or crumbling sealant where flashing meets the roof.
Steps to Replace Sheet Metal Flashing: A Deeper Dive
Replacing sheet metal flashing can seem daunting, but breaking the process down into manageable steps can help demystify it. Here’s a concise guide based on insights from expert sources:
1. Gather Materials: Before starting, ensure you have the right materials on hand. You’ll need replacement flashing, roofing cement, roofing nails, and caulking. Remember to put safety first—wear protective gear and work from a sturdy ladder. 2. Remove Old Flashing: Use a pry bar to carefully detach old flashing, ensuring not to damage the surrounding roofing material in the process. 3. Clean the Area: Thoroughly clean the area to prepare for the new flashing. Removing debris ensures proper adhesion and creates a watertight seal. 4. Install New Flashing: Cut your new flashing to size, then secure it in place with roofing nails. Make sure it fits snugly against the roof. 5. Apply Roofing Cement: For added protection, seal the edges and seams of the new flashing with roofing cement. 6. Inspect After Completion: After installation, carefully inspect your work for gaps or loose components, and consider performing a water test to verify the effectiveness of the new flashing.The Importance of Timely Repairs
Delaying repairs or replacements can turn minor issues into major problems. From mold growth to structural damage, the consequences of ignoring flashing concerns can be severe, both for your home and your financial situation. In severe cases, flashing damage may require the intervention of professional roofing contractors, especially in complex scenarios or high-risk areas like steep slopes or around chimneys.
Cost Considerations for Roof Flashing Repairs
The cost of repairing or replacing roof flashing can vary widely based on the extent of the damage and the materials used. Homeowners can expect to pay between $200 and $600 for minor repairs, but if extensive work is needed, costs can reach upwards of $1,000. Staying informed about these financial implications can help homeowners budget accordingly and make informed decisions about their roofing maintenance.
Conclusion: Protecting Your Investment
Understanding the critical role that roof flashing plays in your home’s protection is vital. By staying vigilant and addressing flashing issues promptly, homeowners can maintain the integrity of their roofs and enhance their home’s longevity. Investing in proper care for roof flashing is not only a preventive measure but also a smart financial decision in the long run.
 Add Row
  Add
Add 


 Add Row
  Add
Add 

Write A Comment